Thrive Release Notes – November 2019
It’s that time again! We’re rolling out a new Thrive update and this quarter’s release is chock full of valuable fixes and features. We listened to our customers and worked our hardest to facilitate changes that would genuinely make life easier for Thrives users on a day to day basis.
Custom Filters
You can now create, save and edit filters that incorporate users, reports, data sources, folders and servers. This replaces the Groups feature, which has been deprecated.
Accessing the Filter Manager
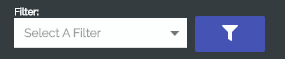
Filters are accessed via the filter icon in the navigation menu of Thrive.
The Filter Manager
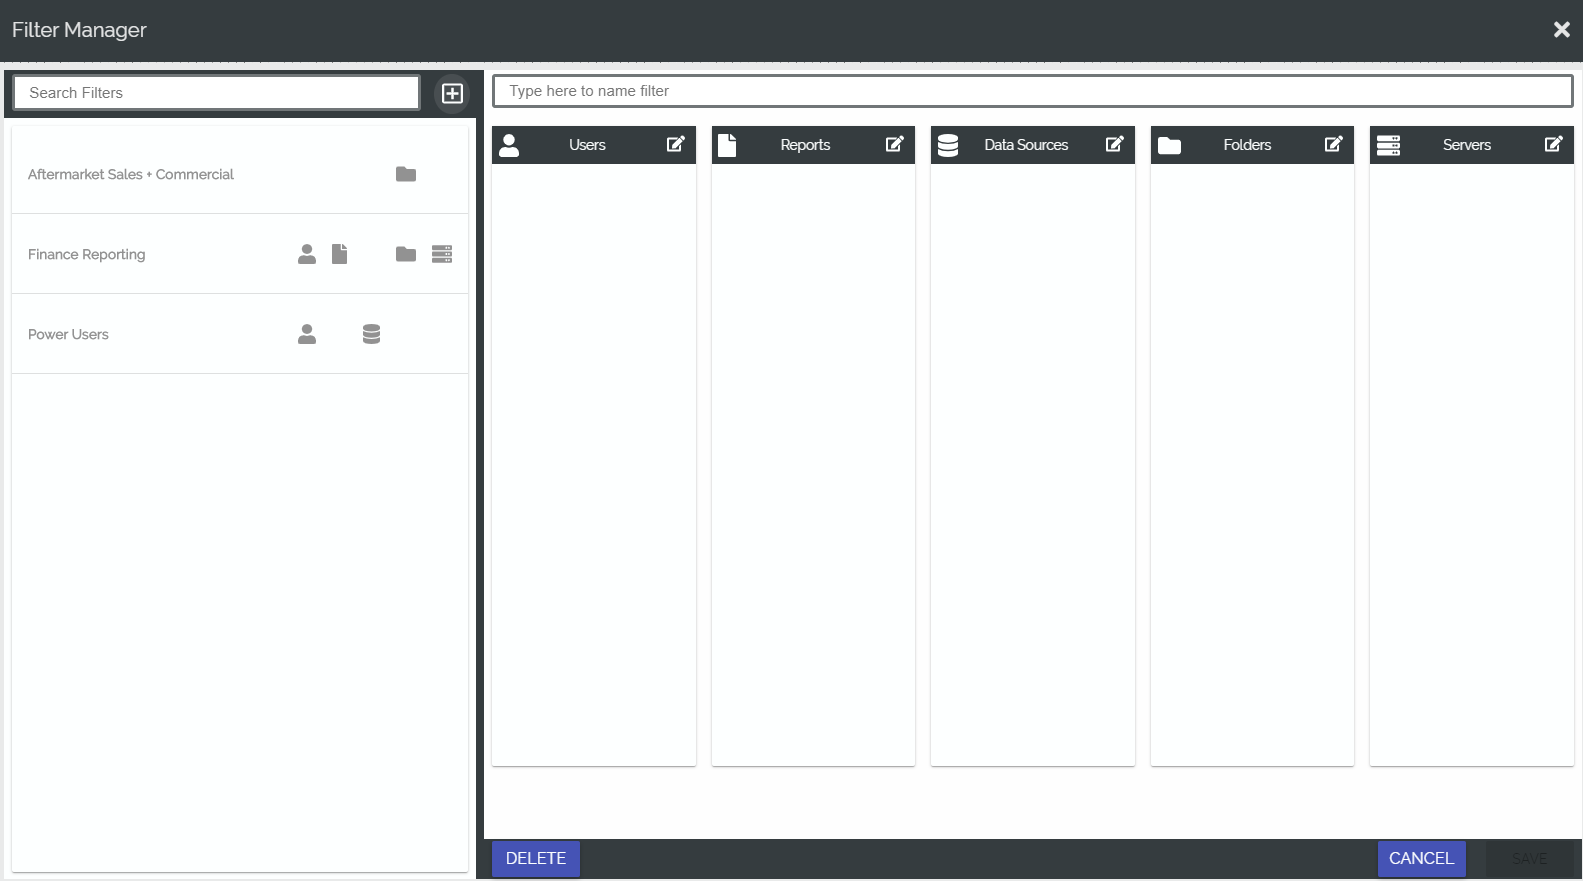
The filter manager provides a canvas for creating and editing filters and broken into two sections
The Filter List
The filter list shows all existing filters in your Thrive environment. It is located on the left of your screen and is comprised of the following components:
A search box for finding filters by name
A ‘+’ icon used to create new filters
A list of filters with accompanying icons indicating which elements are included in the filter
The Filter Editor
The filter editor is where you build the components of your filter. A single filter can combine any or all of the available elements to create highly specific slice of your Cognos environment data. It contains:
Text box for naming a filter
Display for each filter element
Users
Reports
Data Sources
Folders
Servers
Pencil icon to edit each filter element
Delete, Cancel and Save buttons
The Element Editor
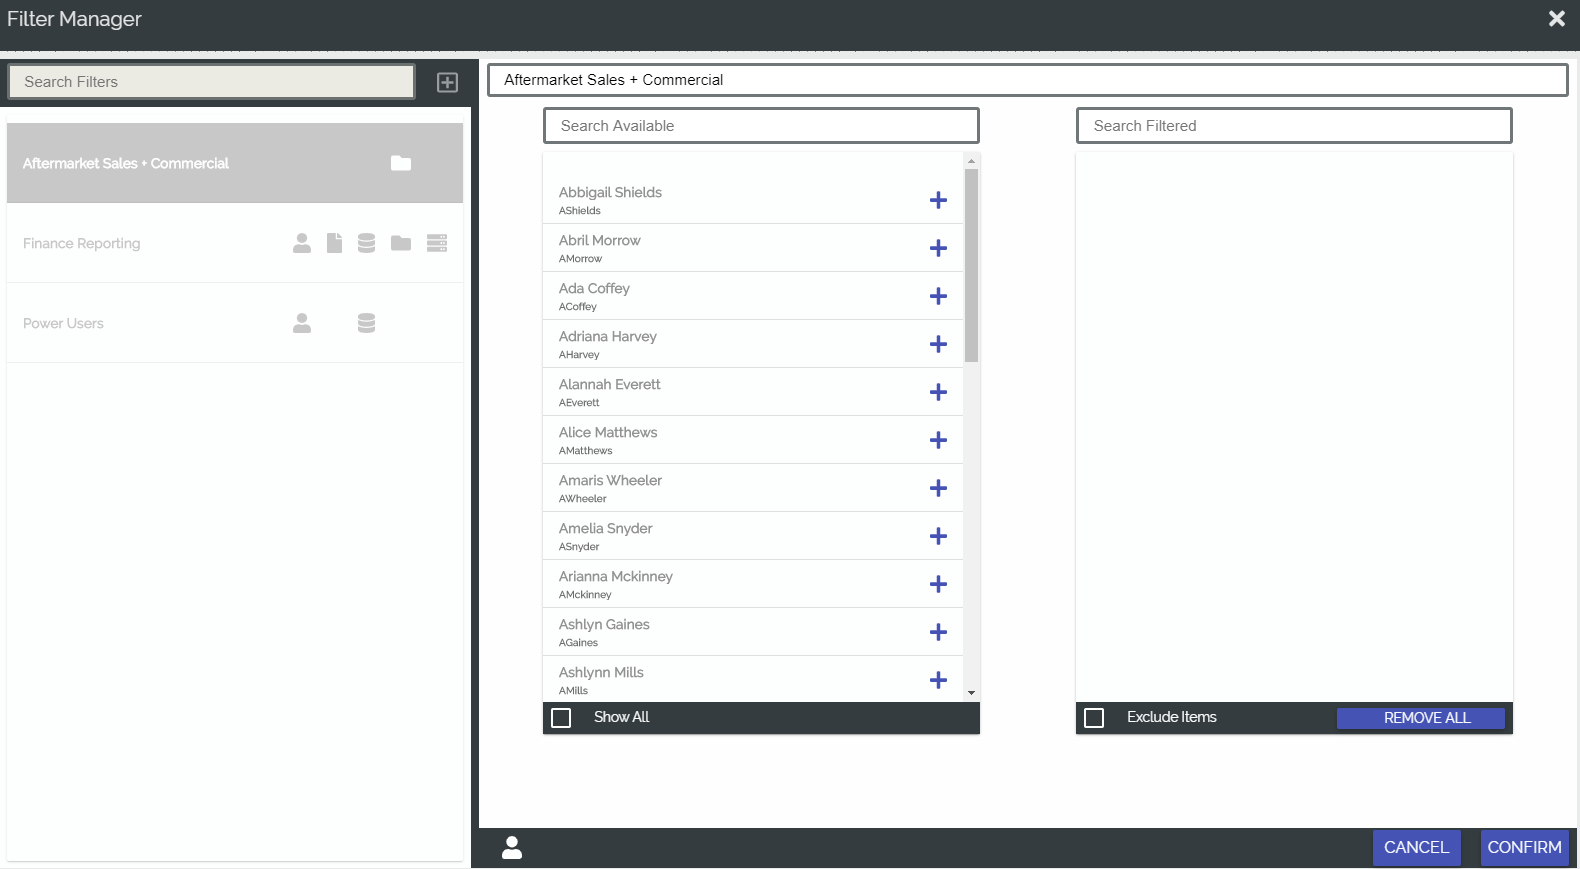
The element editor is accessed by clicking the pencil icon next to any filter element. This is where you set the filter parameters for that element:
Searchable ‘Available’ and ‘Filtered’ windows
List of all available filter data
‘+’ icon to add available data to the filter
Show All check box
The default behavior of filters in Thrive is to cascade. For example, if you add a filter element for a single user then configure a filter element for reports, you will only see the reports that were executed by the filtered users
Clicking ‘Show all’ will remove the cascade and allow you to select any report available in Thrive
Exclude Items check box
The default filter behavior in Thrive is to include. Checking this box will change the filter to exclude. This is useful if you want to see all report executions for a particular data source except for those by members of the development team, for example.
Remove All removes all filtered data
Cancel and Confirm
Creating a Filter
Click the ‘+’ icon in the filter list to create a new filter
Give your filter a name
Click the pencil icon next to one of the filter elements. This will open the element editor
Add data to your filter by clicking the plus next to the desired data points
Click ‘show all’ or ‘exclude’ if desired
Click confirm. This will return you to the filter manager
Add additional filter elements if desired
Click save.
Click ‘x’ to close the filter manager
Applying Filters
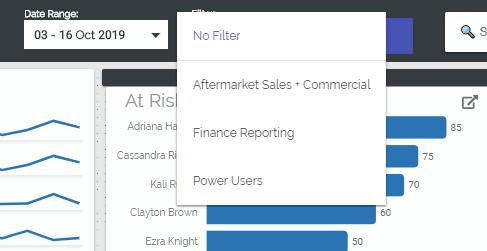
Filters are applied via the drop down filter list in the Thrive navigation menu
Metrics Page Refresh
The left side of the metrics page has been redesigned to present more data in a more compact format while focusing on understanding user interaction and content creation with the Cognos UI.
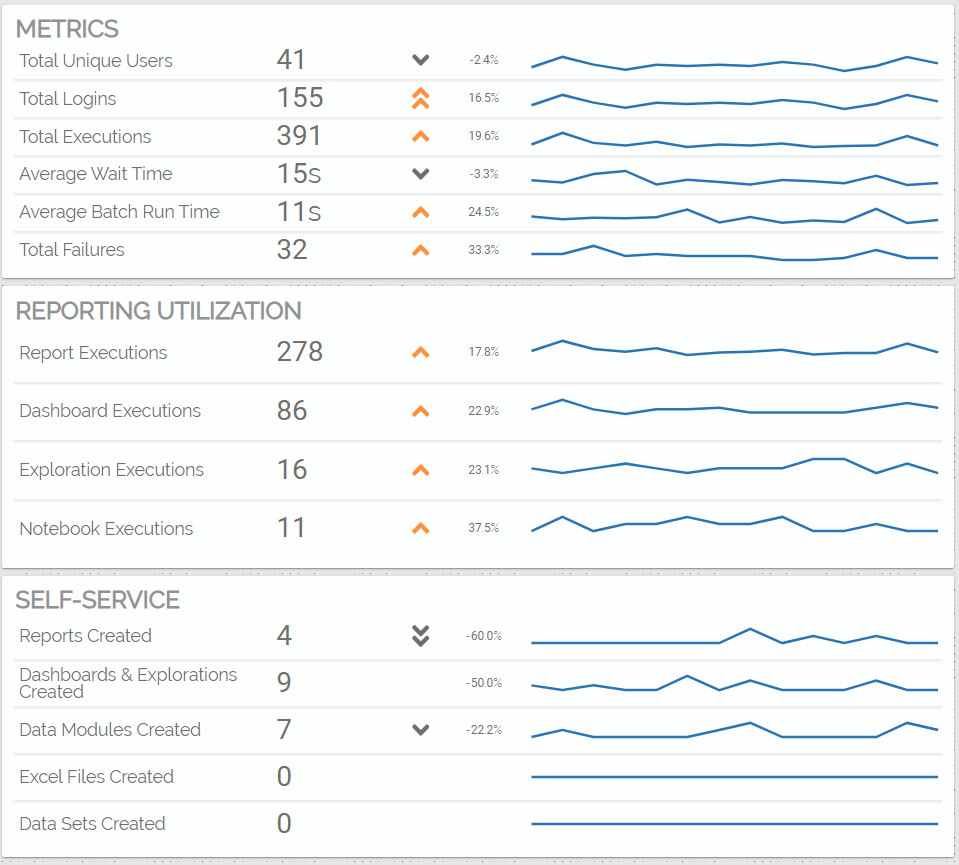
Metrics
The metrics section has minor adjustments to presentation but no other changes. Measures are in the context of any applied date range or custom filters.
Reporting Utilization
Reporting utilization contains a summary of executions for the user facing interfaces in Cognos Analytics as derived from the audit database. Measures are in the context of any applied date range or custom filters.
Self-Service
Self-service contains a count of new objects created for the most popular Cognos Analytics features. Measures are in the context of any applied date range or custom filters.
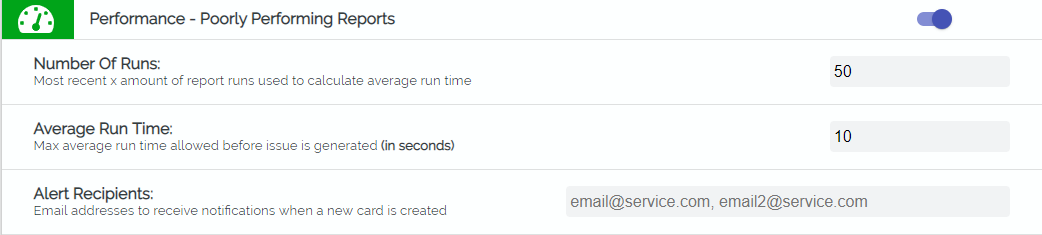
Email Alerts for Issues
Email alerts are now distributed for new issues uncovered by Thrive. Configuration is done in the Configure Issue Generator Thresholds section of the admin menu. Each issue type has a separate alert recipient setting to allow customization of recipients on a per-issue basis.
Alert Generation Process
Thrive issue generator runs on a set schedule (default is 5 minutes) and looks for new issues to add to the issue tracker
Thrive checks the admin settings to see if email alerts are configured for any of the issue types
Thrive bundles alerts into a single summary email per recipient
Each recipient receives a personalized summary with links back into Thrive
Account Wide Settings
Thrive includes two new account wide settings. These settings are found in the admin menu and alter the Thrive UI for all users.
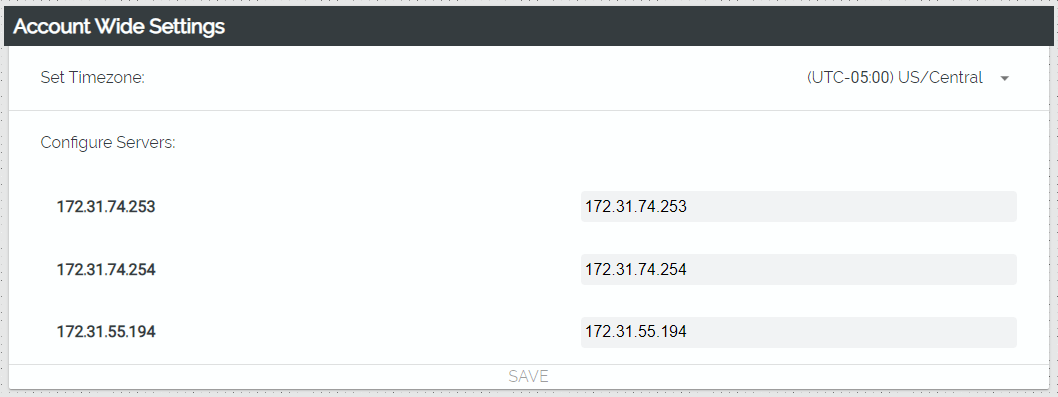
Set Time Zone
Admins can now configure time zone display in the Thrive user interface. The default remains UTC until changed. Once configured all timestamps in Thrive will adjust to the selected time zone.
Configure Servers
Admins can now configure server display in the Thrive user interface. The default remains the IP address from the Cognos audit database. Once configured all instances of a given IP address will be replaced by the chosen text.