
Share


Dan Swan, March 7, 2021
Get the Best Solution for
Your Business Today!
Planning Analytics Applications and Plans
This is a new feature as of the 2.0.58 (October 2020) release of Planning Analytics. The applications and plans feature represents a brand-new approach to managing the budgeting process. Applications and plans let you organize logically related Planning Analytics Workspace assets such as books, views, and websheets in containers called assets. How the assets are organized is completely up to the administrator. Books or views can be organized to match your management structure or based on the flow of specific tasks.
IBM defines applications and plans as follows;
- An application contains related assets that are grouped in sections. These sections might reflect the structure of your organization, planning and budgeting requirements, or any other relevant grouping of assets. While an application contains logically related assets, there are no implied or required actions associated with the assets or sections in an application.
- A plan contains assets that are grouped in steps. These steps can represent discrete tasks or contributions that must be completed in a planning or budgeting cycle. While steps can be ordered in a plan, there is no requirement for contributors to complete the steps sequentially; they can be completed in any order. Steps can also be assigned a due date for contributions and\or reviewers.
Applications are better suited to organizing assets that are routinely viewed or worked on together. This could include a collection of dashboards that executives and managers review or it could be used to organize views to enter monthly forecasts. As the IBM definition states, Applications do not require users to take any actions related to the assets within the application.
Plans should be used when tasks need to be completed on a schedule and/or in a specific sequence. Plans also give you the ability to require users to indicate when tasks are complete by submitting their changes. The state of a task is updated in the Plan grid whenever a task is submitted, informing other users and the administrator.
Index – New Features for Managing Workflow within Planning Analytics (Applications and Plans)
Table of Contents
Creating a Plan
A plan contains assets that are grouped in steps. These steps can represent discrete tasks or contributions that must be completed in a planning or budgeting process. Each step in a plan must be completed by contributing data to the books, views, and websheets, or by reviewing data within the step. Use plans to create a structure for your budgeting or forecasting procedures
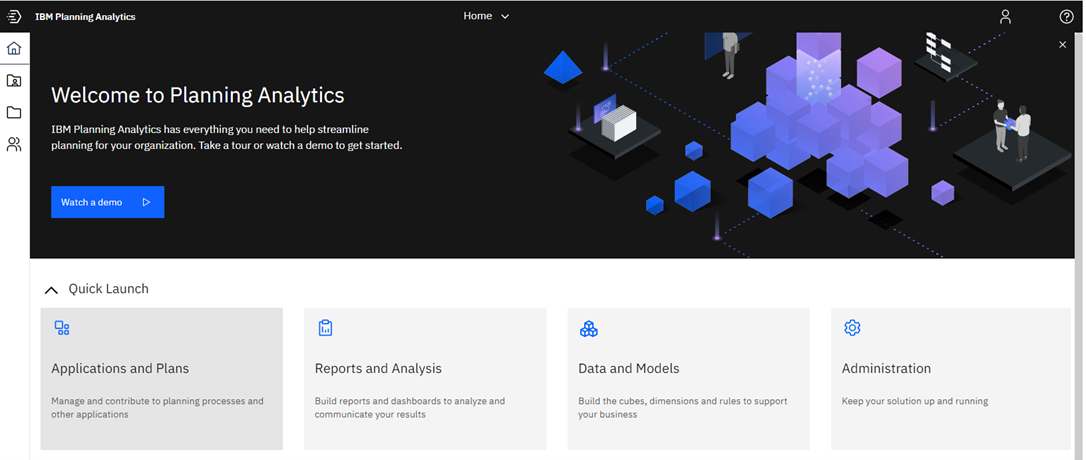
Click on Applications and Plans

The Applications and Plans screen will appear.

Or with no plans showing.
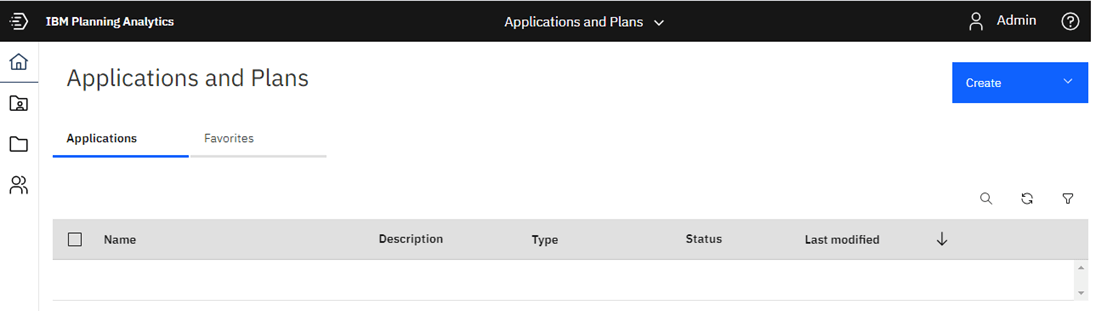
Click on Create and select Plan from the drop-down.

With the New Plan template open, add the plan name and an appropriate logo if desired.
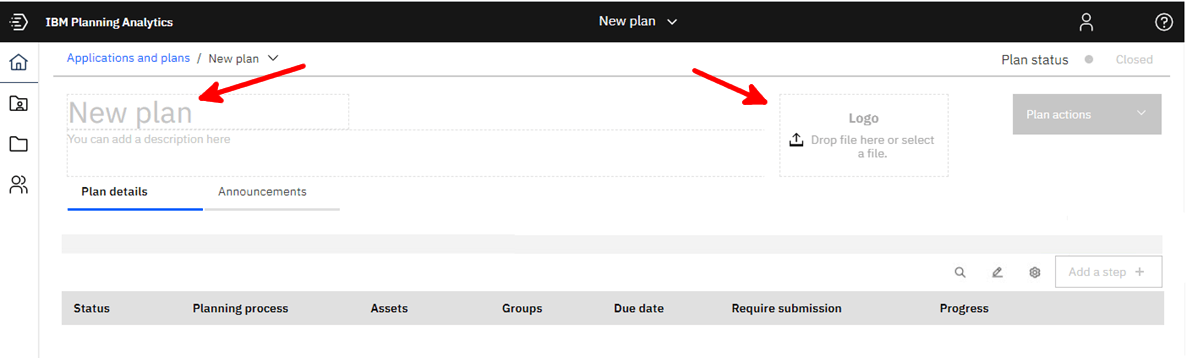
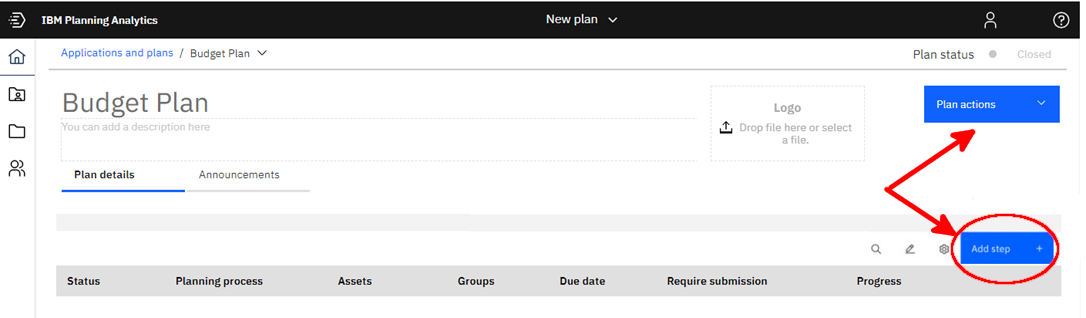
Notice that after completing the description, Plan actions and Add step change from gray to bright blue.
Add Step. A step creates actions for each phase of your plan.
The screen updates with a new step added.
Click on “Untitled1” to name the first section.

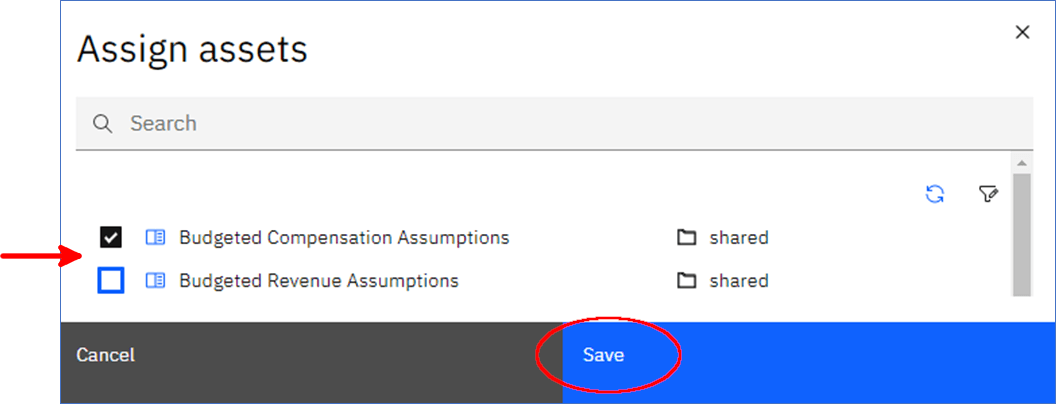
With the description of the new step added, click on Assign Assets to add Books, cube Views or Websheets to this section. The Assign Assets dialog box will appear. Scroll and use the check box on the right to select the objects you want to use.

The Assign assets page shows the books, views, and websheets that are available to add to your plan step.

You can search asset names or filter by asset type to narrow the list of assets.

Click the check box for the asset or assets you want to include in this step. Click Save when complete.
Assign Groups
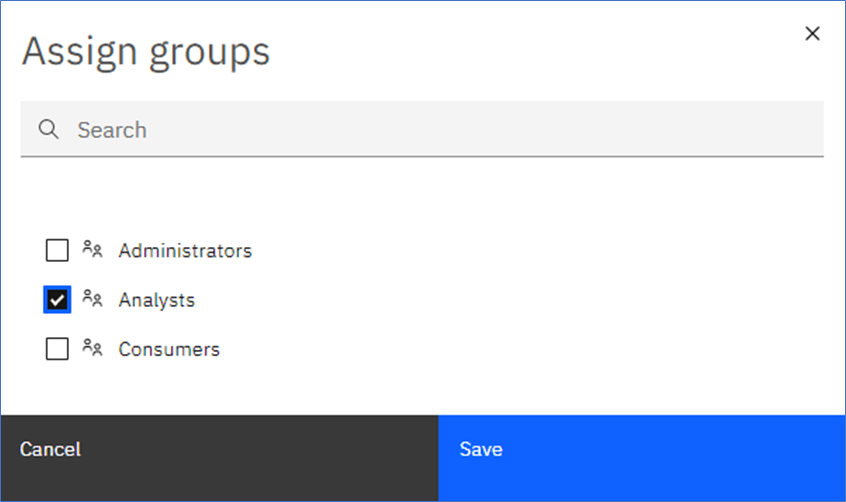
The Assign groups page shows the existing user groups that you can assign to the step assets. The example above shows a simplified list of groups. See the Application and Plan security section for more information.
Select the user groups that you want to assign to the step assets, then click Save.
When a user group is assigned to a step, the security for the step assets is updated to provide access for the user group.

Additional Step Guidance
As mentioned earlier, a user is not required to complete the above steps sequentially, but due dates will hint at the order. Guidance messages can specify the sequence of tasks if this is a requirement.

Set the Due Date and Require Submissions
Click the Calendar Icon to set a due date for the plan step. The due date indicates the deadline for contributions to the plan step, but it does not have any impact on the state of an open step. When the due date is reached or surpassed, an open step remains open until it is closed by an administrator.

Set Require Submissions to Yes.
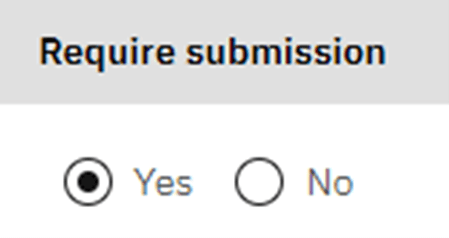
A submit button will now appear when this step is opened. A user will submit the step when complete, notifying colleagues and administrators.
When a step requires submission, at least one user from one of the assigned user groups must click the Submit button on the plan contribution page to affirm that work has been completed for the step.
The step is now complete.

Multiple Steps within a Plan
Repeat the step for every unique task your users should complete.
Below; We created three more steps for our plan. Note that the Consumers security group is assigned to three of the four steps. Later we will explore a view from a user who is a member of the Consumers group.

A Note about Security
Access to sections in an application or steps in a plan is controlled by Planning Analytics Workspace user group assignments. When a PA user group is assigned to a section or step, the security for the contained assets (folders and books) is updated to include the user group. However, plan security is applied only to Planning Analytics Workspace user groups. There are no direct links to TM1 object security. The Planning Analytics Workspace administrator must ensure that the Planning Analytics Workspace user groups have the requisite TM1 security permissions to view and edit TM1 objects within the assets.
For example, Plan_User shown below, must belong to the PA Consumer group to have access to PA assets and it must belong to a TM1 user group that has access to at least some portion of the TM1 objects within the PA assets.

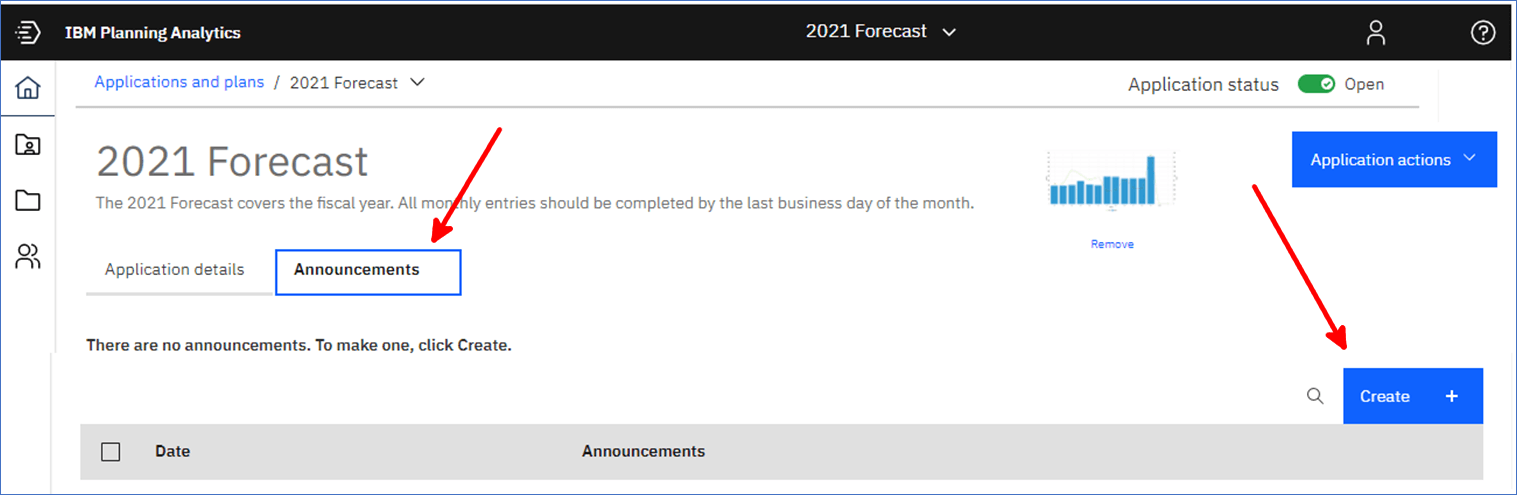
Announcements
Click the Announcements tab.
Click Create, then enter an announcement for the plan.
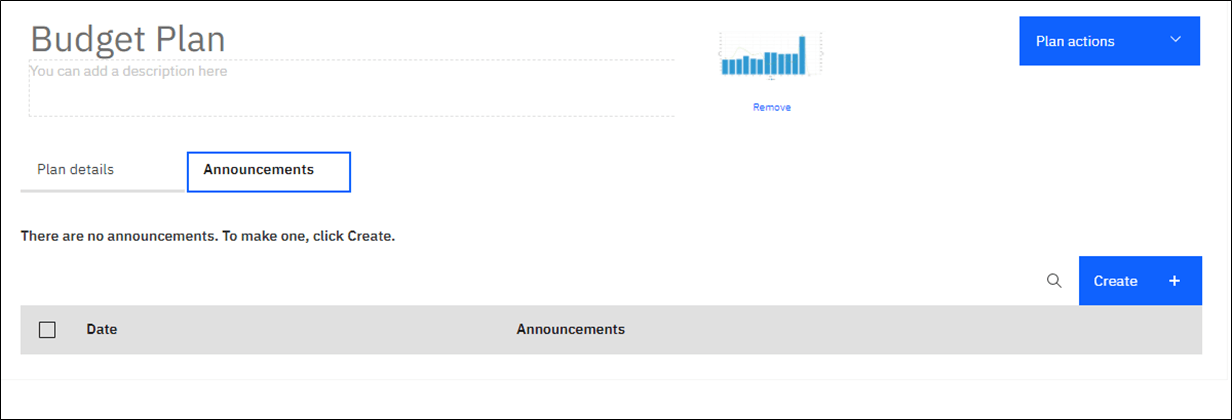
Announcements appear on the plan contribution page and can be used to provide general instructions and other plan details for your contributors. A plan can contain multiple announcements. When multiple announcements are present, they are displayed in reverse chronological order, with the most recent announcement appearing first.

Plan set-up is complete. Set the Status to open and set each step to open and the plan is ready for your users.

If the Status remains closed, non-admin users will not be able to see the Plan. If Steps within an open Plan are closed, the user will see only open Steps.
A User’s View of the Plan
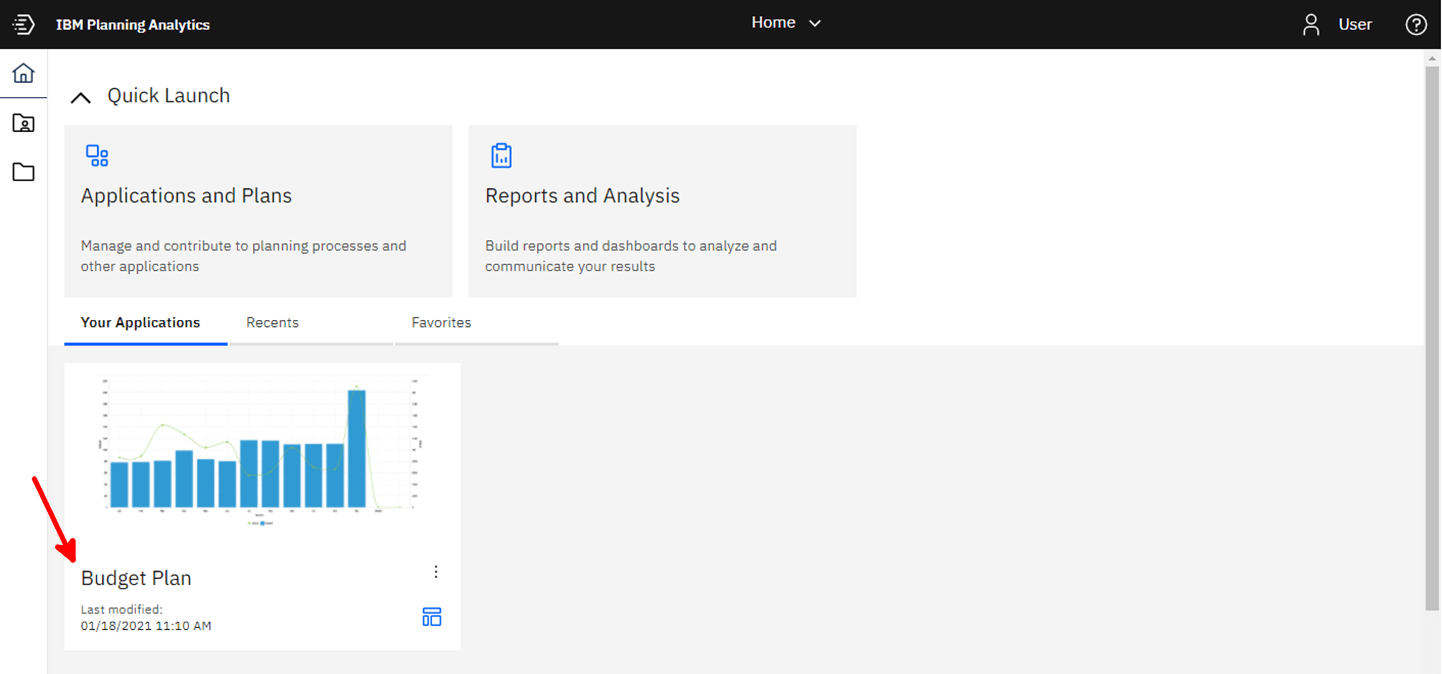
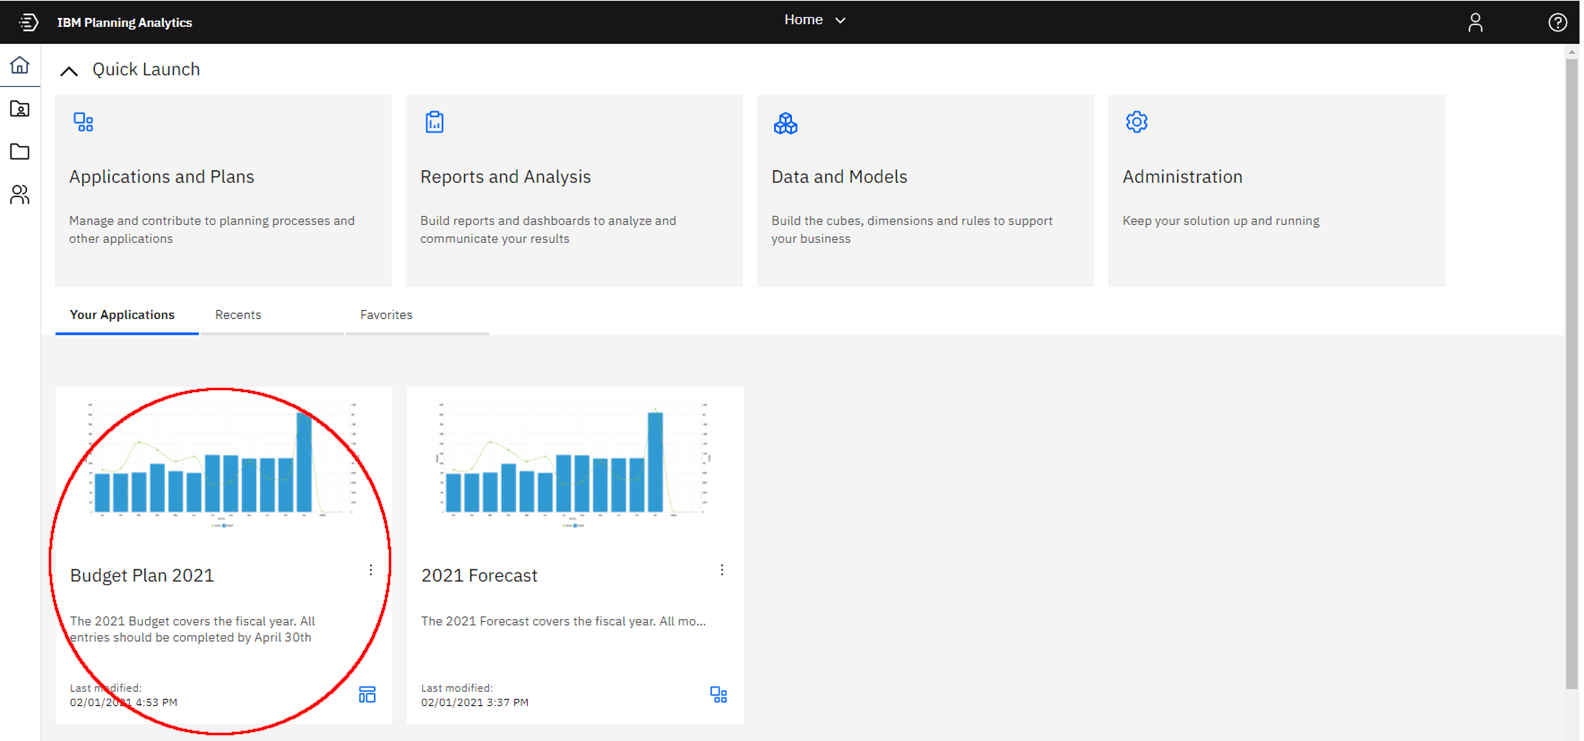
With the Plan complete, let’s see how the plan looks to a typical user. In the examples below, the user belongs to the Consumers security group. The Consumers group has access only to the Budget Plan and the Budget Plan card is all we see under Your Applications within the Home page.
By clicking on the Budget Plan card, we can open the plan. As mentioned earlier, we assigned three plan steps to the Consumer group, so the user will only see three of the four steps available.
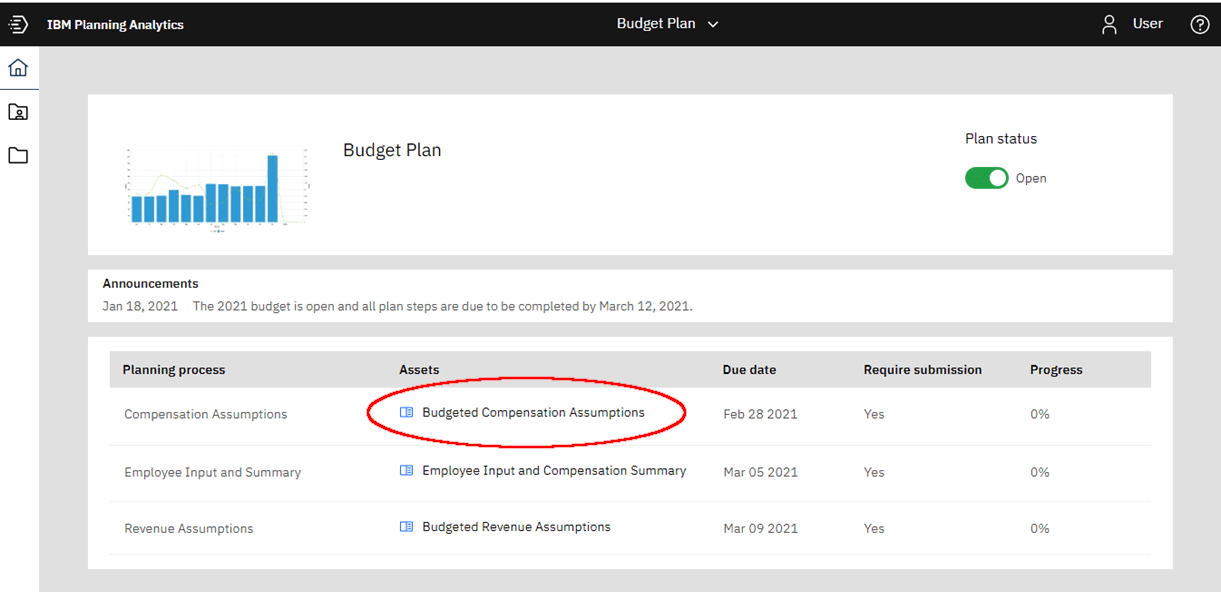
Click on the Budgeted Compensation Assumptions assets to open the first step.
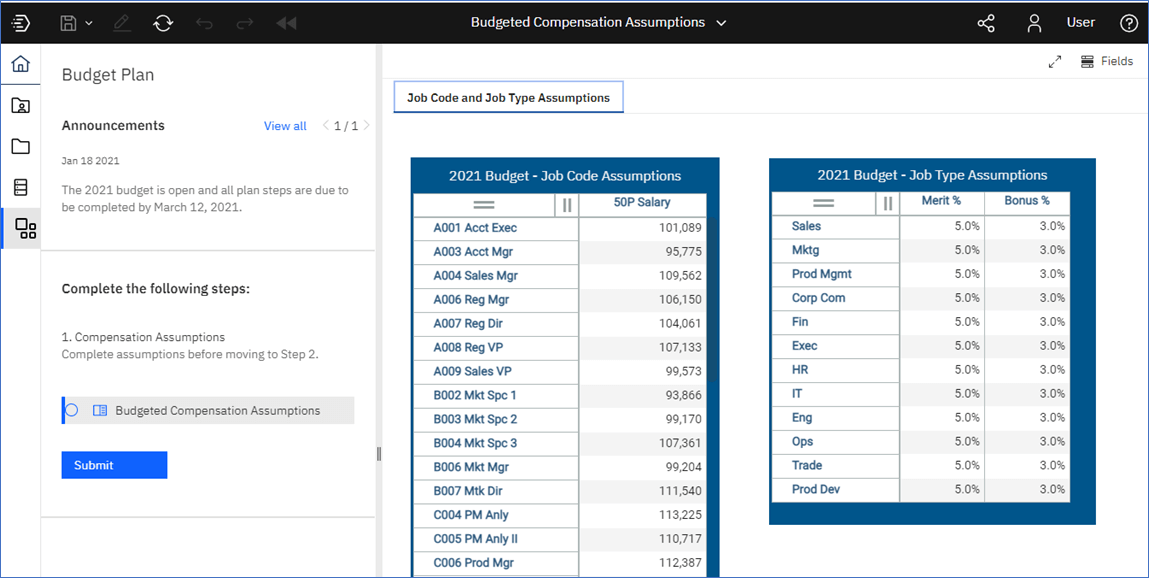
Update the Job Code and Job Type Assumptions and click Submit when complete.
When you hit Submit, you will be prompted for confirmation and to optionally enter a message.
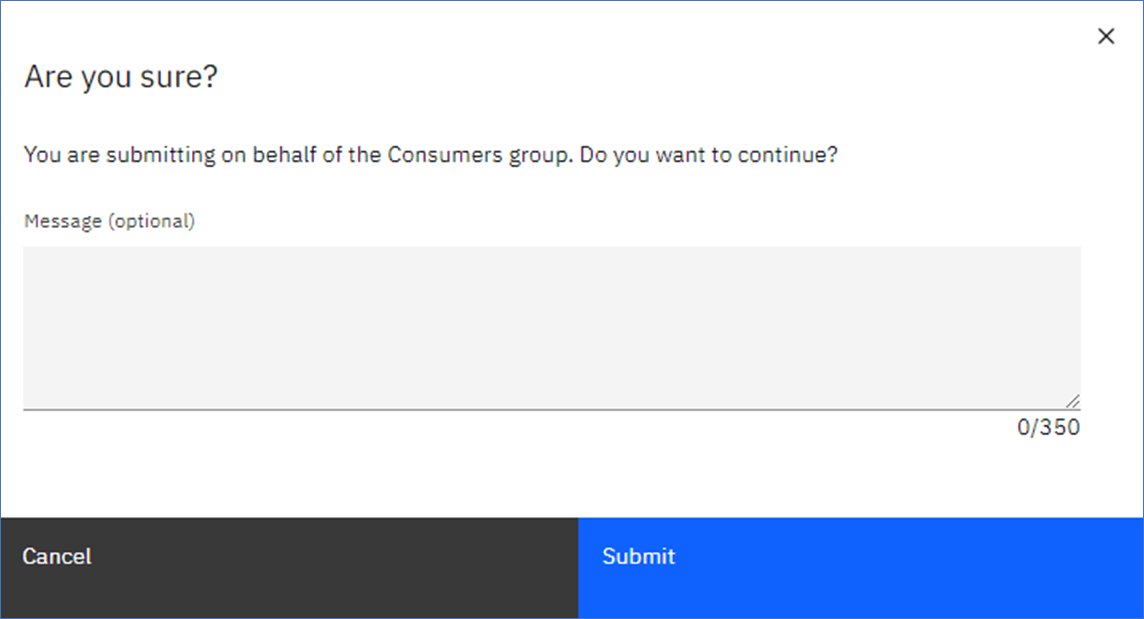
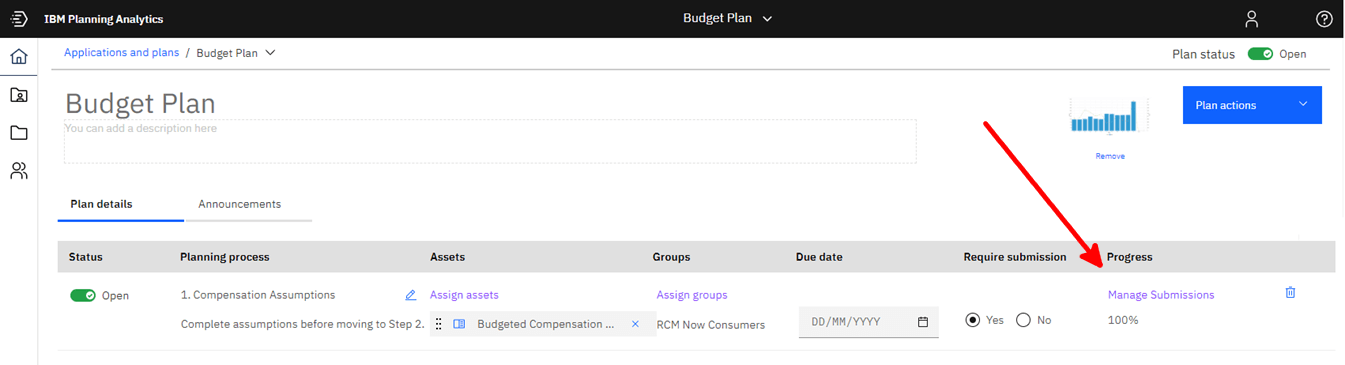
Click Submit to complete the submission process. Note the message above; “You are submitting on behalf of the Consumers group.” In this example, the Consumers group is the only group assigned to this step. As a result, when this step is submitted, the Progress for the step will show 100%.
Immediately following submission, the view will be updated with a message stating that the step has been submitted.

The plan administrators can now see that the first step is complete with Progress at 100%.
Creating an Application
An application contains related assets, such as books, views, and websheets, that are grouped in sections. These sections might reflect the structure of your organization, planning and budgeting requirements, or any other relevant grouping of assets. Use applications for routine tasks that do not have a deadline.
To create a new application, click on Applications and Plans.
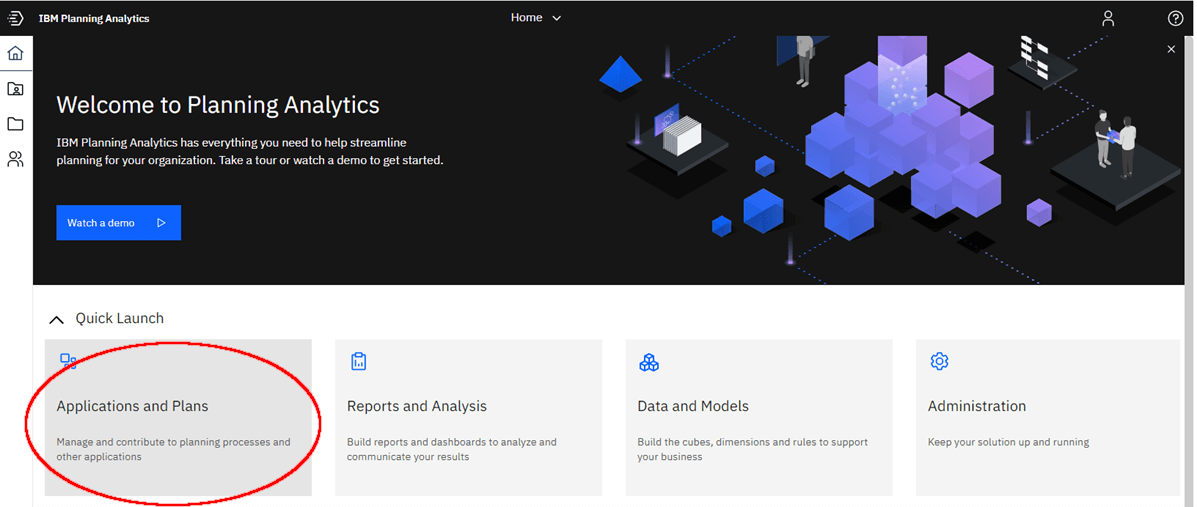
Click on the Create drop-down and select Application.
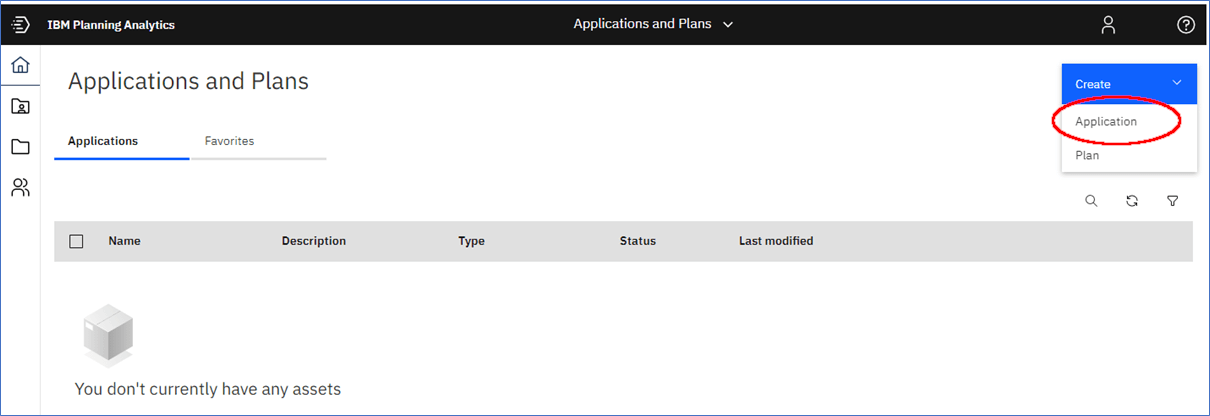
The New Application screen will appear.
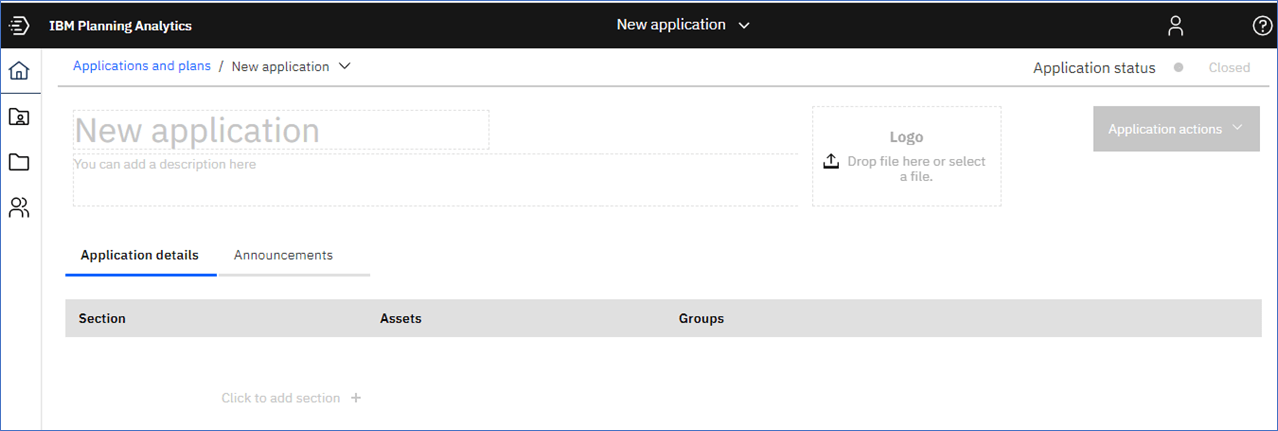
Start by entering the name of the application, hit enter or click out of the description when complete.

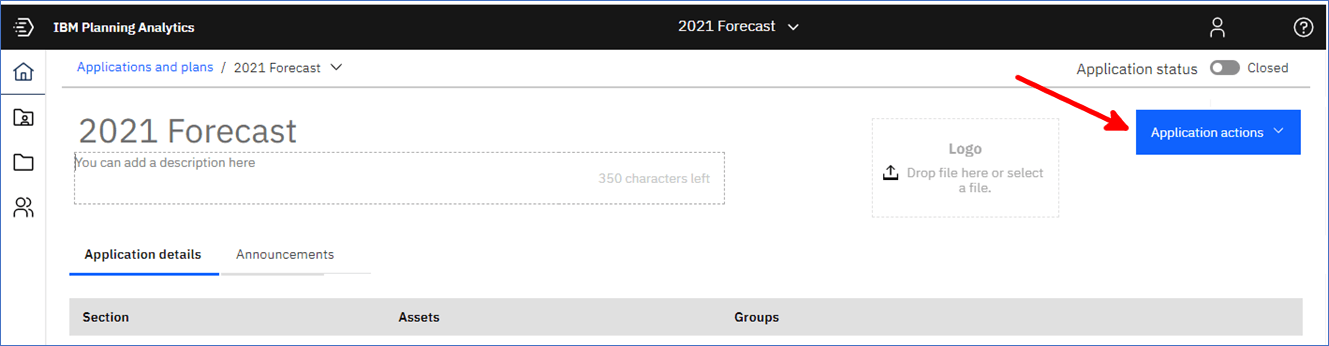
Notice that on completion of the application description, the Application actions button is activated, changing from gray to blue.
Add a description and upload a logo
Update the description by simply typing in your text.
Add a low-resolution image for your logo. It can be from your machine or a server. The image will be uploaded and available to all users. Drop an image or right-click to browse for your file.

Add a Section to your plan
Click on the Add Section button. A new section will be added with an Untitled description.

Click in the Untitled placeholder and type in your description.
Click on Assign assets to begin adding books, views, or websheets.
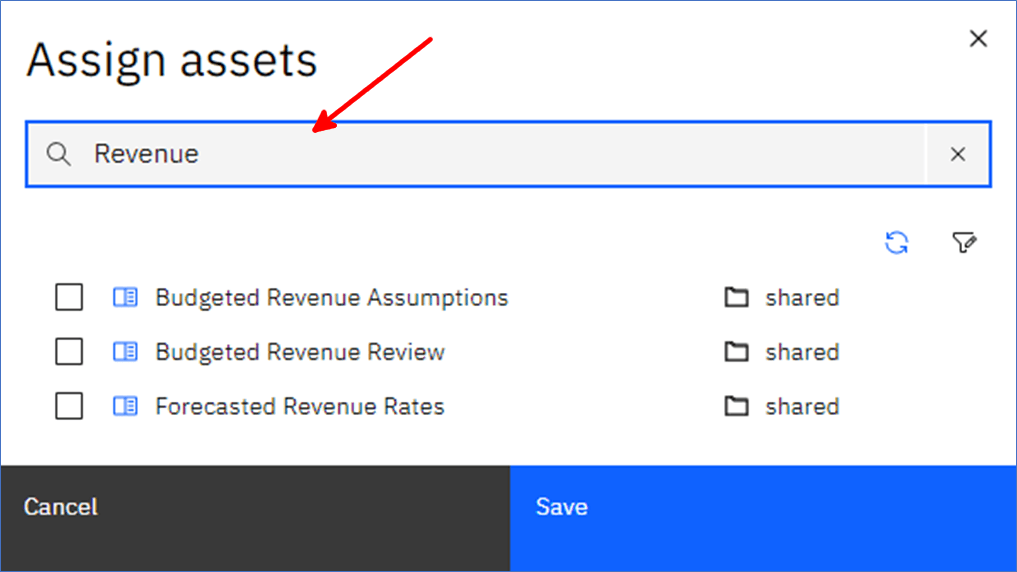
The Assign assets page shows the books, views, and websheets that are available to add to your application section.

You can search asset names or filter by asset type to narrow the list of assets.
For Search, just type in part or all of the description and matches will immediately appear.
To filter, click on the filter icon.

Select the assets that you want to include in the current section using the check boxes, then click Save.

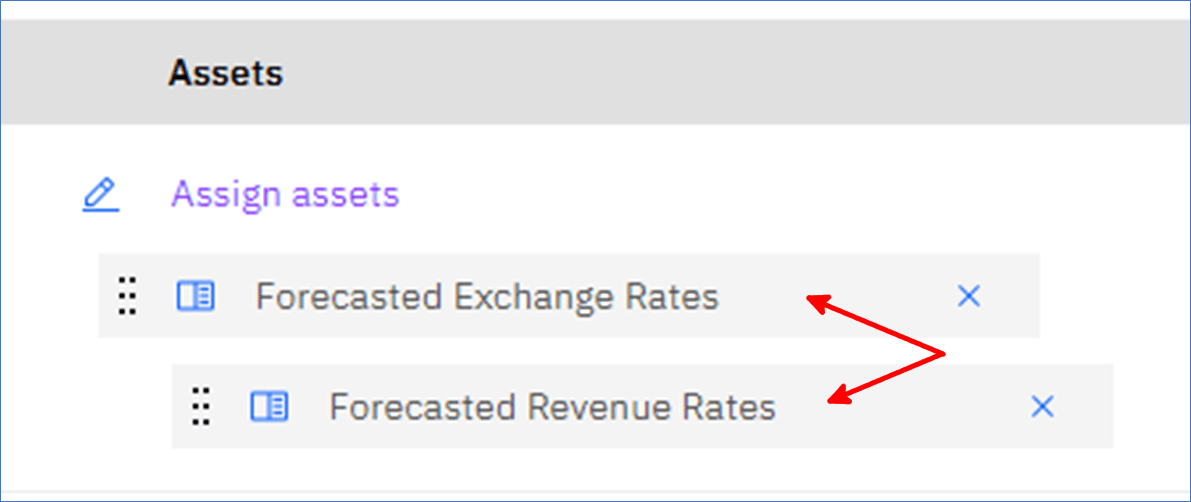
The assets are added to the section in the order you selected them on the Assign assets page. You can click and drag (your cursor will change to the hand icon) assets to different positions to change the ordering.
Click on Assign groups to grant access to each section. You can select more than one group. Click Save.

Repeat the above steps to add more sections to complete your application.
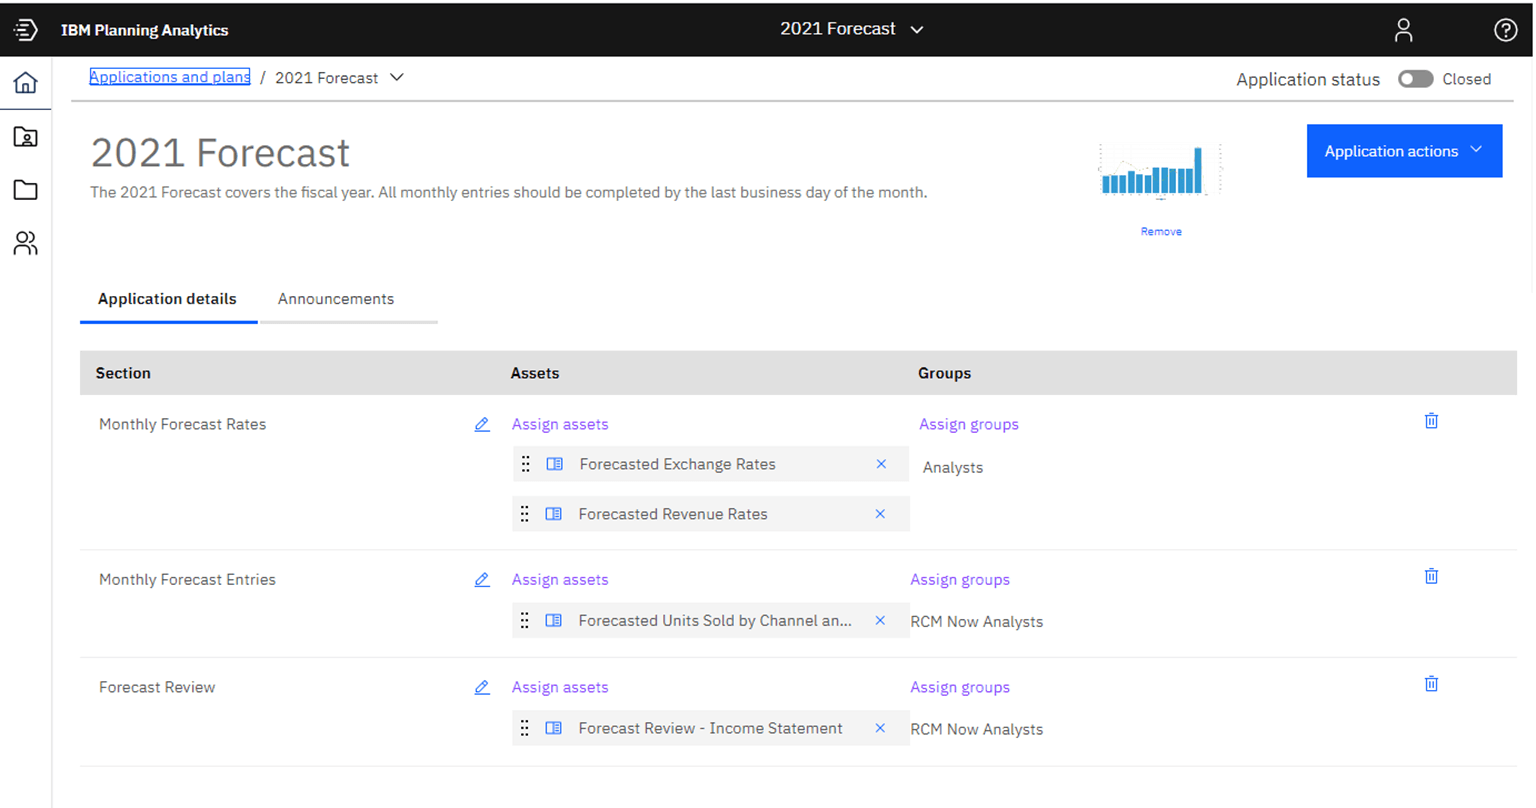
Once complete, open your application by clicking the Application status button.

Application Actions
Apply application actions to save and refresh your application.
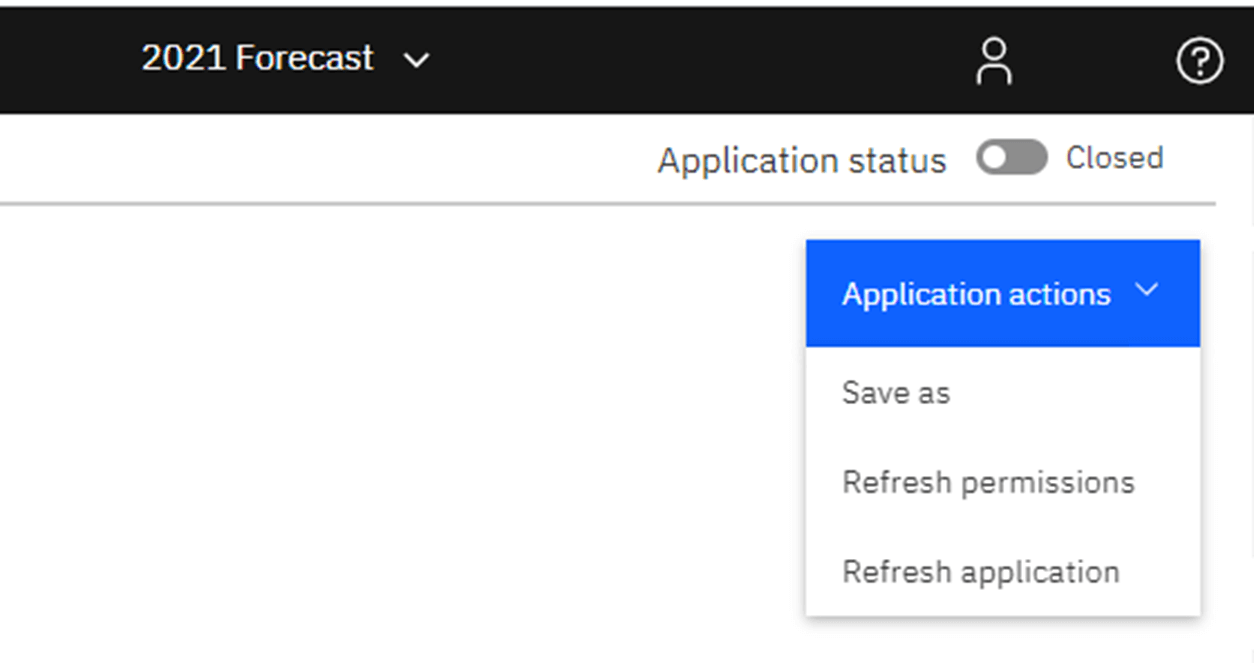
Save as to replicate this application with another name or convert the Application to a Plan (more on converting an Application to a Plan below).
Refresh permissions – When you perform any action that affects asset or group security for an application you must explicitly refresh security by clicking Application actions, then Refresh Permissions.
Actions that require an explicit security refresh include:
- Adding an asset to a section
- Removing an asset from a section
- Adding a user group to a section
- Removing a user group from a section
Refresh application – after adding or removing an asset, or after adding or removing a section, click Refresh application.
Convert an Application to a Plan
As a Planning Analytics Workspace administrator, you can convert an application to a plan. When you convert an application to a plan, you can organize your assets in steps, assign due dates, and require contributor submissions.
When you convert an application to a plan, the plan is modified as follows:
- The new plan is created with a Closed status.
- The application logo is retained as the plan logo.
- All application announcements are removed.
- All application sections are converted to plan steps, and the status for each step is Closed.
- The section names from the application are retained and applied to the steps in the plan.
- Any section guidance is retained and applied to the steps in the plan.
- The assets and user groups from the application sections are applied to the steps in the plan.
- There are no due dates set for any plan steps.
- The Require submission option is set to No for all plan steps. Conversion Steps;
1. Open the application management view. There are two ways to open an application for management:
- Click the application tile on the Planning Analytics Workspace Home page.
- Click the application name on the Applications and Plans page.
2. Click Application actions, then Save as.

3. Enter a name for the plan, then select the Plan option and click OK. The plan will open in the plan management page.

Manage an Application
There are two ways to open an existing application:
- Click the application tile on the Planning Analytics Workspace Home page, or
- Click the application name on the Applications and Plans page.

To change the status of an application, click the Application Status option to toggle the status of the application.

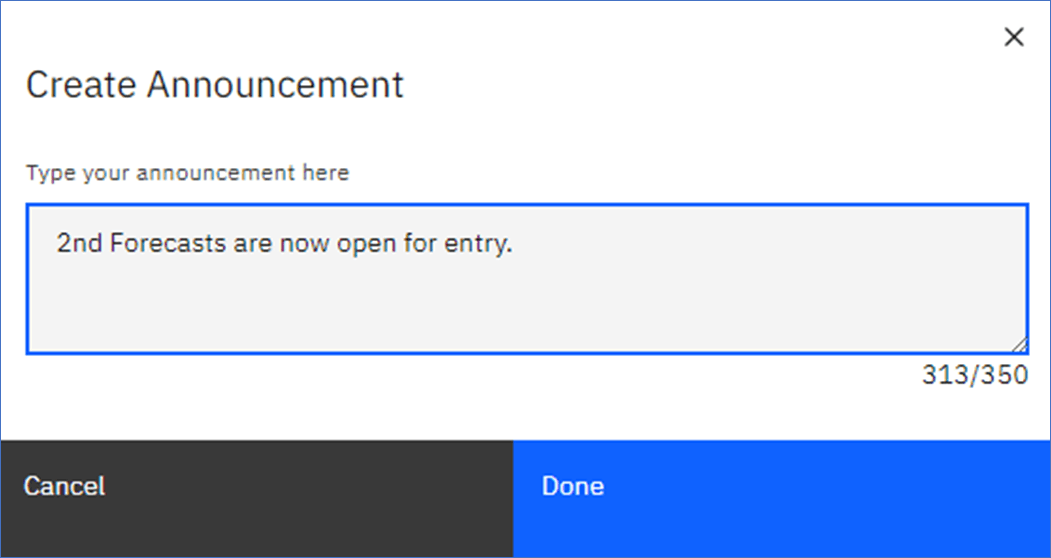
To modify announcements, click the Announcements tab. Click Create to add an announcement.
You have up to 350 characters available for announcements. Note the available/total available counter in the lower-left section. Click Done when complete.
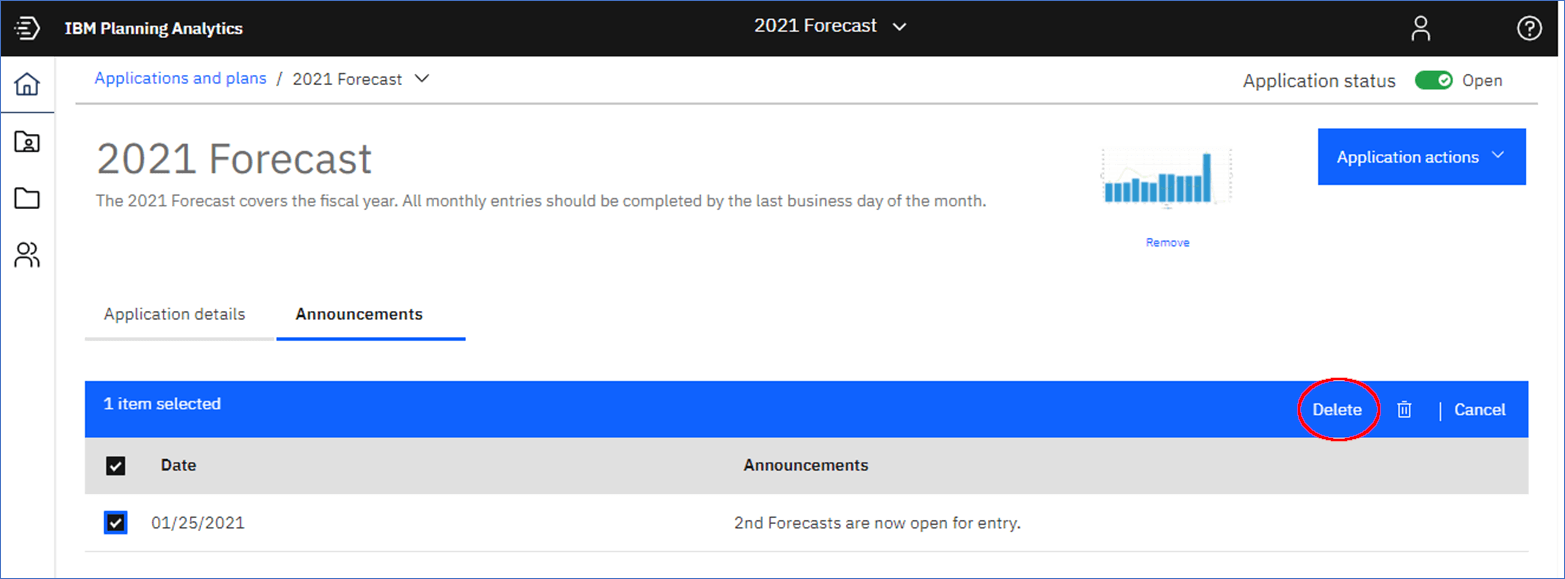
To remove an announcement, click in the Check Box to the left of the announcement and click Delete. Notice when you click in the Check Box, the bright blue line appears above the announcements indicating how many items have been selected and includes the Delete/Cancel options.
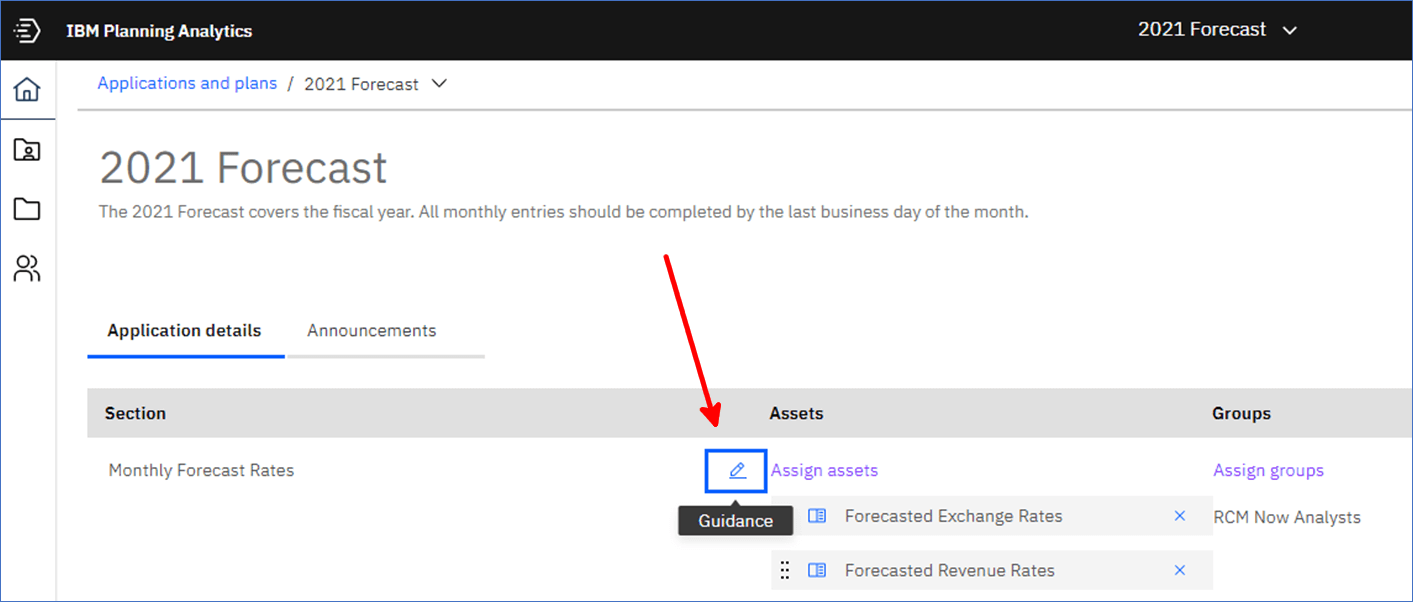
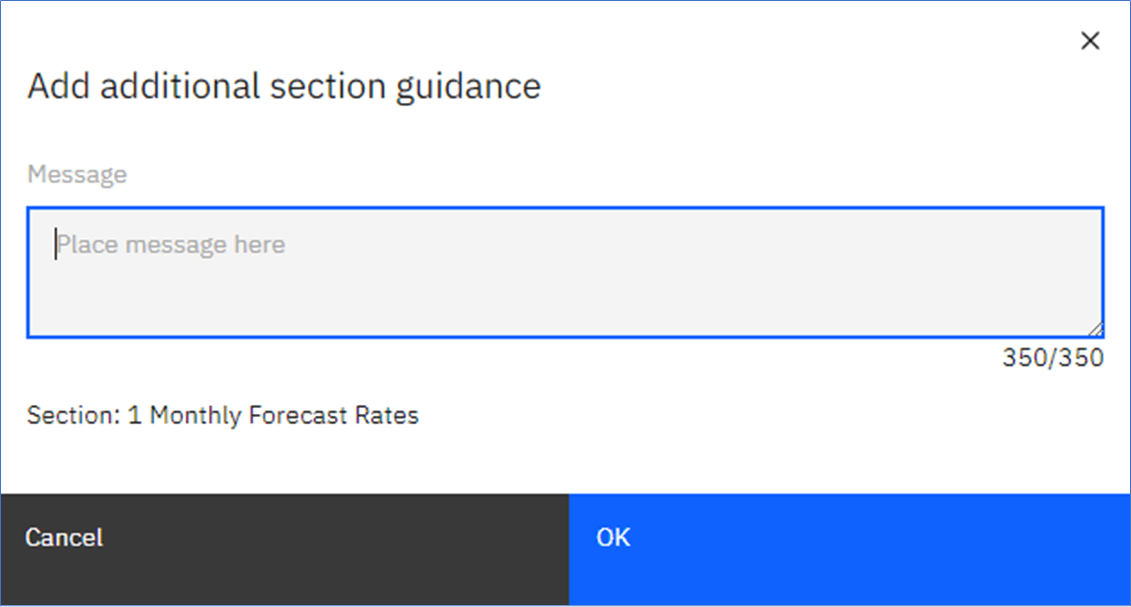
To modify Guidance for a section, click the Guidance icon and enter your text.
Other Application Management Procedures
- To rename a section, select the current section name, then type a new name.
- To change the order of sections in an application, click just below a section name and then drag the section to a new position.
- Modify section assets:
- To change the order of assets in a section, click an asset and drag it to a new position.
- To add assets to a section, click Assign assets, then select the assets and click Save.
- To remove an asset from a section, click the Remove icon next to the asset name.
- Remember to click Actions, then Refresh permissions after you add or remove assets.
- Modify group assignments for a section:
- To add user groups to a section, click Assign groups, then select the groups and click Save.
- To remove a user group from a section, click the Remove icon next to the group name.
- Remember to click Actions, then Refresh permissions after you add or remove user groups.
- To add a section to an application, click Add a section, then define the section as described in Create an application.
- To delete a section from an application, click the Delete icon, then confirm the deletion.

A User’s View of an Application
The top section shown below contains the logo, application name, application description, and the Application status. The Application status is an indicator only and cannot be changed by a non-admin user.

Click on the listed Assets, and the book or folder will open. In this example, we are opening a book called Development that contains three tabs; Process, Cube and Dimension (below).
Note in the left panel you have the application name, announcements pertaining to the application, and the current asset name.

With the book open, the user can update data. The book can be closed without saving and the data entries will be preserved.
Summary
When should you use Applications or Plans?
Use Plans for sets of tasks where you want your users to acknowledge task completion (utilizing the Submit function) and where there is a set of sequential steps to follow. Plans are good for users that use the system infrequently, such as for annual budgets. You can easily guide infrequent users through the plan steps, providing a clear path to completion while minimizing confusion and questions.
Applications can be used to organize frequent tasks or to arrange a logical progression of dashboards and/or reports for executives and managers.
Both Applications and Plans are great for organizing your workflow and for organizing how you view your data within Planning Analytics. This new feature provides the flexibility to optimize how each part of your organization can utilize company data, whether for data entry, analysis, or report/dashboard reviews.
Next Steps
We hope you found this article informative. Be sure to subscribe to our newsletter for data and analytics news, updates, and insights delivered directly to your inbox.
If you have any questions or would like PMsquare to provide guidance and support for your analytics solution, contact us today.