
Share


Werner Coetsee, October 9, 2020
Get the Best Solution for
Your Business Today!
If you are looking to branch out into data science, Cognos can help you! Starting with release 11.1.2, IBM is including Jupyter Notebook Server with Cognos Analytics. Jupyter notebooks are a popular way to analyze data and visualize the results in a browser, but their real power is the ability to share these notebooks with other data scientists who can interact with the data in real-time. With the addition of notebooks to Cognos, analysts can schedule notebooks to run and build dashboards based on notebook data, leveraging the familiar Cognos framework. In this article, I will detail for you how to install Cognos Analytics for Jupyter Server on a Ubuntu server. The process works for either an on-premise server or cloud instance, and uses only the command line.
How we will Install Cognos Analytics for Jupyter Notebooks in 4 steps:
- Load Jupyter Notebook Software
- Configure Jupyter Notebooks Server
- Configure Cognos Analytics
- Test Server Integration
Two quick notes: installation of Ubuntu is too broad to cover here, also I will not cover SSL configuration.
Table of Contents
Load Jupyter Notebook Software
The first step, of course, is to build an Ubuntu server. Whether cloud-based or on-premise, vanilla Ubuntu Server is fine – I used Ubuntu Server 18.04 LTS. We will need command-line (shell) access to the server, either directly at the console or remotely via SSH. Be sure to update Ubuntu to the latest packages by running sudo apt-get update && apt-get upgrade.
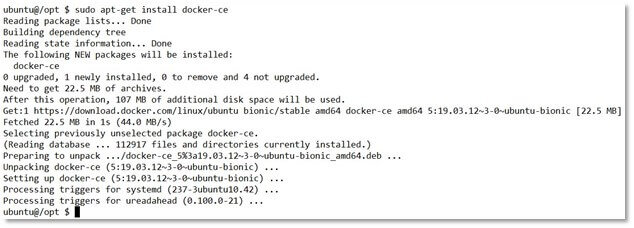
IBM has created custom Docker containers to deliver Jupyter Notebook Server, thus we will install the Docker Community Edition software. Ubuntu has a Docker CE package we can load via sudo apt-get install docker-ce like so:
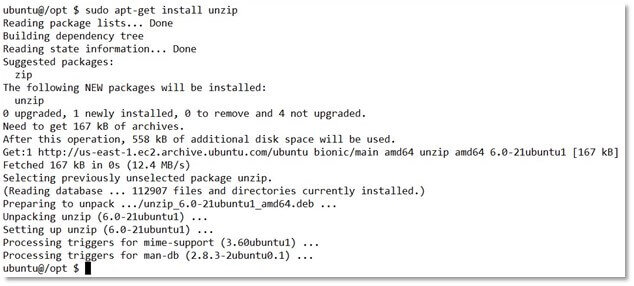
The Jupyter Notebook Server software is in a ZIP file, to handle extracting from ZIP files we will install the unzip Ubuntu package with sudo apt-get install unzip:
We need someplace to hold Jupyter Notebook Server: create a directory to use as the server home directory. I used /opt/ibm/cognos/jupyter as the server home directory.
Now download Cognos Analytics for Jupyter Notebook Server into the server home directory. Connecting to IBM’s web site is rather tedious via command-line, so you may prefer using a browser on another computer and transferring the software to this server. The file I downloaded is ca_jupyter_lnxi38664_11.1.2.zip, and is about 2.5GB in size.
In the server home directory, unzip the ZIP file with sudo unzip ca-release-11.1.2-19031917-jupyter.zip. Two new subdirectories are created, com and manifest. The Jupyter server software is in the com/ibm/bi/platform/notebook-server/11.1.2-19041615 subdirectory, named notebook-server-11.1.2-19041615.tar.gz. Move that file up to the server home directory.
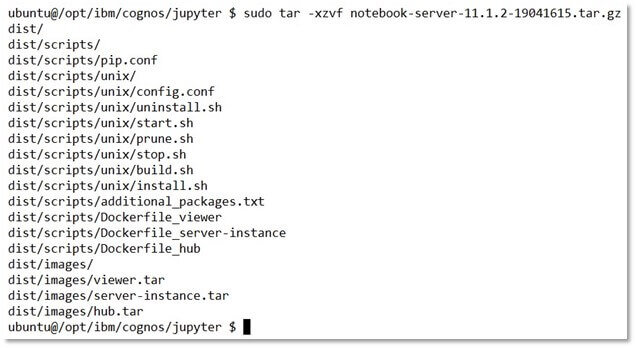
Now unpack the Jupyter server software with the sudo tar -xzvf notebook-server-11.1.2-19041615.tar.gz command:
We are now ready to start the configuration.
Configure Jupyter Notebooks Server
Our first task is to configure the Jupyter Notebooks Server software. To begin, add the server name and port to the server configuration file. Go to the dist/scripts/unix subdirectory and edit config.conf using sudo nano config.conf. Set the value of HOST_PORT to the host name of your server (such as jupyter.mycompany.com), and the HOST_PORT value to 8000, then save the file and exit the editor.

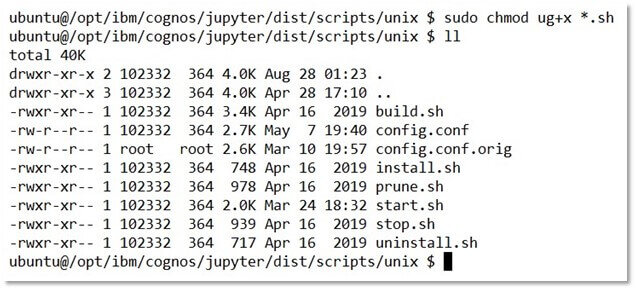
There are a number of script files in the same directory, and we need to add execute permissions to all of them. Let’s run the command sudo chmod ug+x *.sh to do so.
We have completed configuration, so we will install the Jupyter server software by running the install.sh script like so: sudo ./install.sh

There will be many more lines than shown in the above figure, but the most important is to see that the Docker containers ca_jupyter_server-instance, ca_jupyter_hub, and ca_jupyter_viewer have been created and installed.
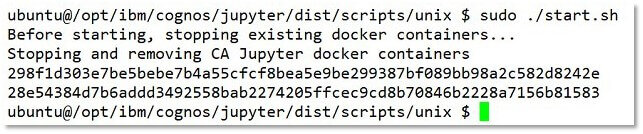
Let’s run the start.sh script to start the Jupyter Docker containers with sudo ./start.sh:
We can confirm the Jupyter Notebooks Server software is running with the command sudo docker ps:

The two Docker containers ca_jupyter_hub and ca_nb_viewer should be running. As the server is accessed, other containers may be used, but these two should always be running.
Configure Cognos Analytics
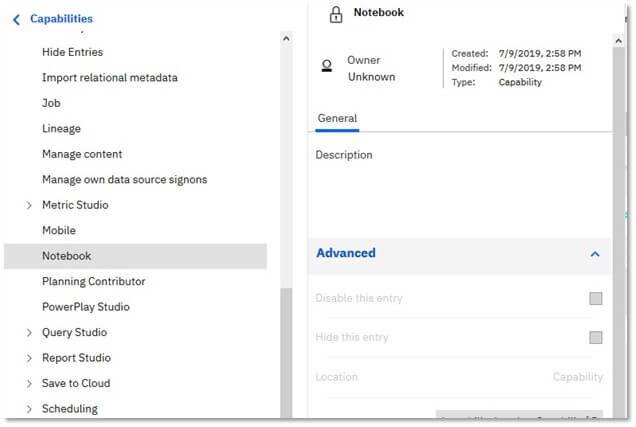
The next step is to configure Cognos Analytics to use Jupyter notebooks. First, we will enable the Notebook component. Login to your CA server, and go to Manage -> People -> Capabilities and select Notebook. Ensure that Notebooks are not hidden or disabled.
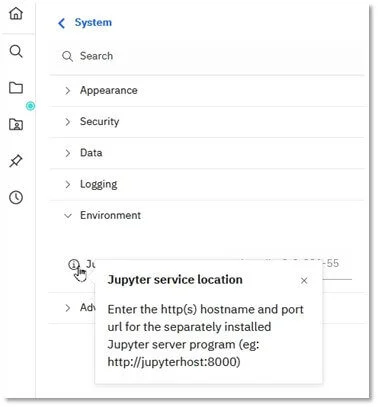
Next, go to Manage -> Configuration -> System -> Environment and set the Jupyter service location. Use a URL that points to the Jupyter Notebooks Server host name and port, such as http://jupyter.mycompany.com:8000. If you are using a cloud instance, you may need to use the IP address of the instance rather than the host name.
Everything is complete and we should now be able to create and access Jupyter notebooks!
Test Server Integration
To create a new Jupyter notebook in Cognos, select New then Notebook:

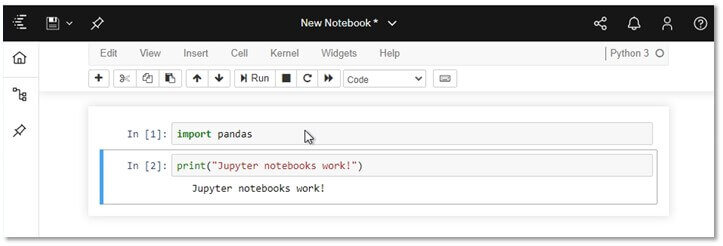
To test Notebook functionality, we will add commands to two notebook cells. The first, import, will test whether the notebook can import packages on the Jupyter server. The second, print(), will show whether output can be shown by the notebook. Enter the commands as seen below:
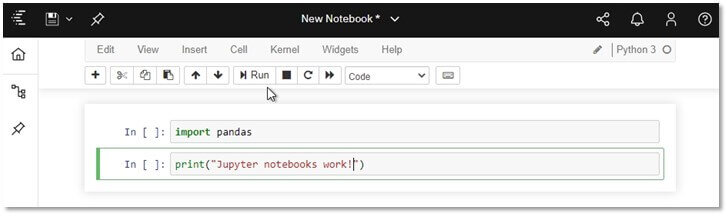
Then, select the Cell menu and choose Run All. If the tests are successful, you should see the following:
Conclusion
Now you can start your data analysis in Jupyter notebooks with the added benefits of the Cognos framework and visualizations. You can control access to your notebooks with Cognos users and groups, and produce dashboards that use notebook data as their source. IBM also provides a sample code that demonstrates other ways that notebooks can integrate with Cognos objects such as data modules.
I hope you find this article helpful and generates some useful ideas. Many thanks to Matt Morgan at IBM for his help.
Next Steps
We hope you found this article informative. Be sure to subscribe to our newsletter for data and analytics news, updates, and insights delivered directly to your inbox.
If you have any questions or would like PMsquare to provide guidance and support for your analytics solution, contact us today.